Sunday, February 12, 2006

Tapestry Crochet Kitty Bag

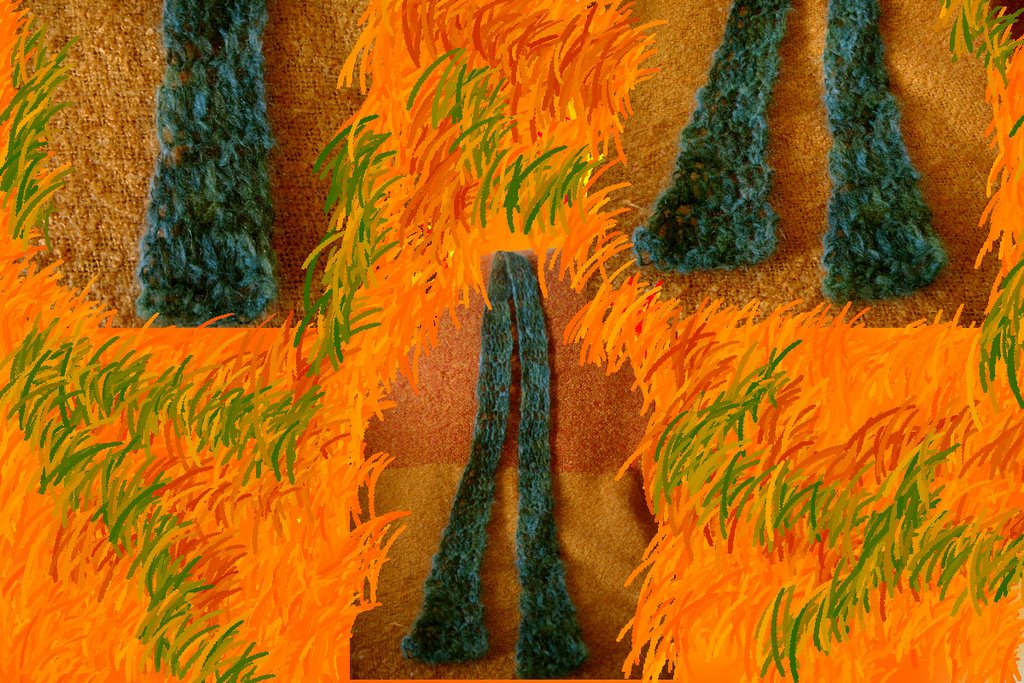
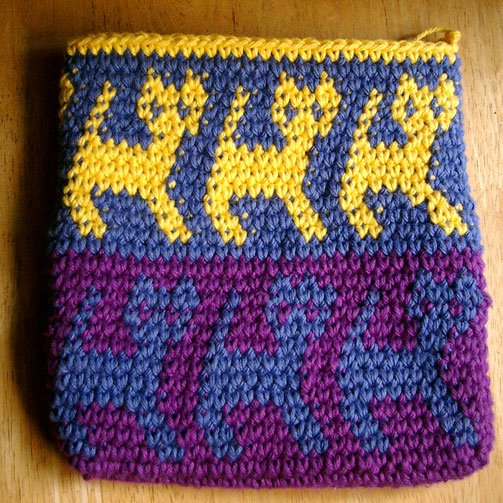
The lovely weather, almost summery, that we had here in Berkeley during the last week inspired me in trying something new. It was a while that I wanted to try Tapestry Crochet, but I never figured out how to do it properly. Finally, a couple of days ago, I found online this adorable pattern by Carol Ventura for a Tapestry Crochet Kitty Bag, and it is very well explained how to tapestry crochet.
Ok we all agree that my attempt, as usual, is not as good as the original, but still I am satisfied with the results... If only I new what to do with my new little bag... ;-)

Thursday, February 09, 2006

First Doily Ever


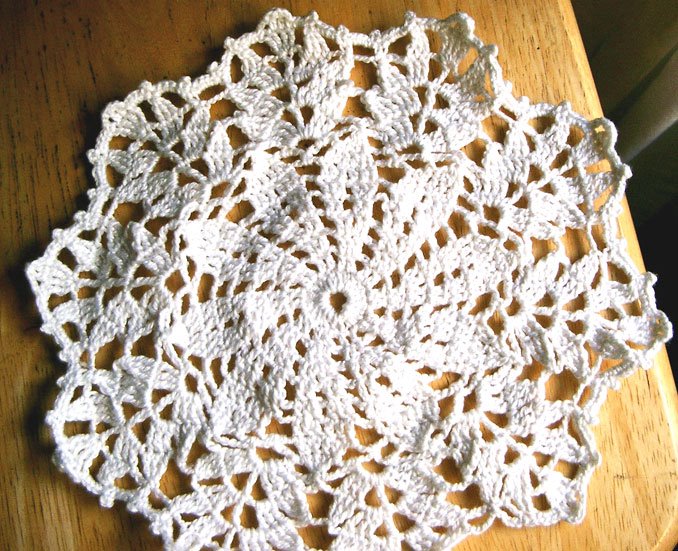
So here it is, my first doily ever. I am totally amazed, and still, when I finish a first-time ever project, I almost cannot believe I did it.
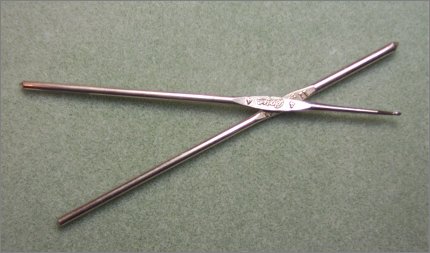
I used a very lovely pattern by Crochet memories, called "Autumn Reflections", some thin cotton thread and a tiny tiny crochet hook size US7/ 1,75mm, and I made it through. Can you believe it? And I am not the tipe of person who has a lot of patience, but I did it...
and I must admit it wasn't that difficult, at least much less than I expected when I first saw the size of the hook, that was scary!

Sunday, February 05, 2006

Attempting

I have been experimenting lately. After having spent a whole day at Laci's I had to try several things. One of them was "Filet Crochet" and this is the result... I messed up the pattern a little bit but, I must admit, I found the whole process very slow and pretty boring. I don't think I'll finish this filet cat, anyway I wouldn't know what to do with it...

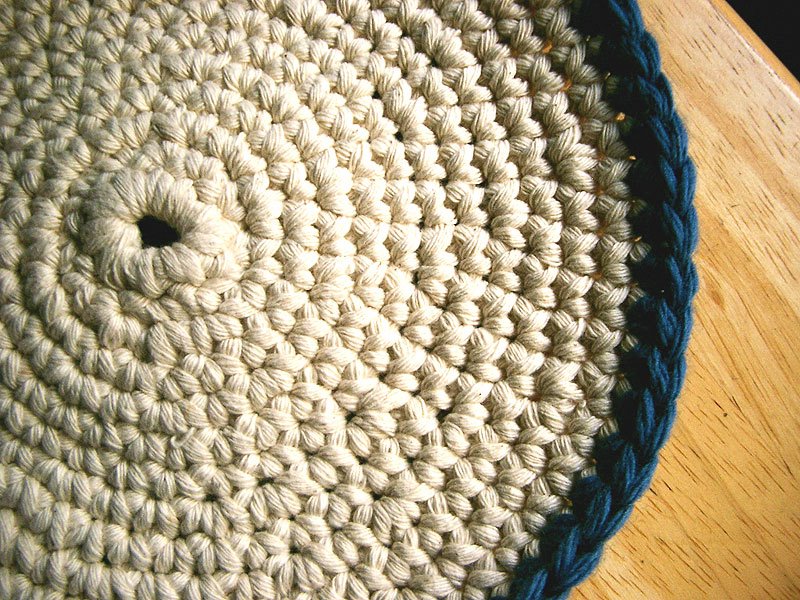
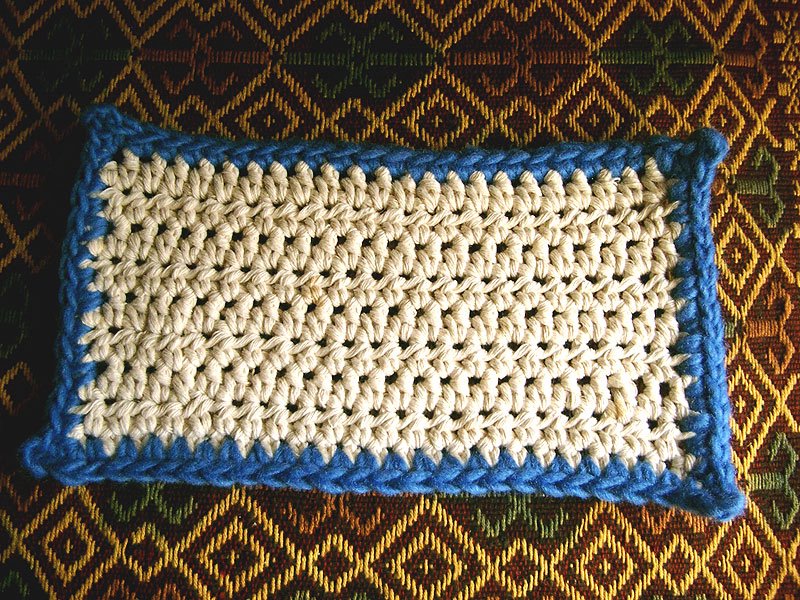
I also have been working on some potholders, made with kitchen twine, crochet hook H8/5.00 bordered with various wool yarn. I'm pretty happy about it, I made them because I really needed them, so for once I made something actually useful :-)

Finally I tried also to hand felt. I must say that my results aren't satisfying at all. I still can see the texture of the knitted wool I burned my hands, and used tons of dish-soap in my bathtub... So disappointing! I guess I'll try again, but I doubt it'll go better next time. I love so much felted items though!!!

Friday, February 03, 2006

And they call it puppy love...

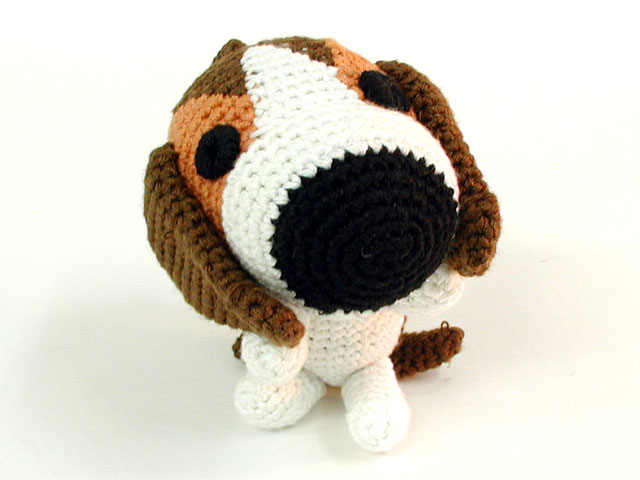
My next project is a little ambitious, but I want to make a puppy amigurumi like this one for my sister! I have no pattern, though...

Wednesday, February 01, 2006

Love is in the air


Oh yes, St. Valentine is approaching, and because I live very far from my friends I always have to think about presents with a lot of anticipation.
In Italy St. Valentine is not a big deal, we just expect some chocolates or small presents coming from our boyfriends (things that never come...) but we don't really send cards to friends and stuff.
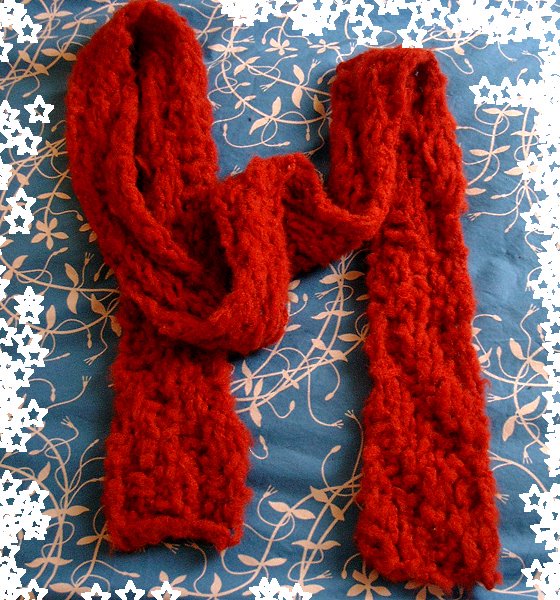
Because I'm here in the US, though, I thought: "this year I will send a couple of St valentine's cards". But I didn't want to send just a card so I made this scarf for my dear friend Sabina, in Rome. Hope she gets it in time!

I also sent this book to my friend Puli, who lives in London, and wants lo learn crochet. I hope that she gets into it, because once you start crocheting it's so funny!!

Tuesday, January 24, 2006

Amigurumi!!!


I don't know how I found out about Amigurumi, but now it's my total addiction. I want to make thousands of Amigurumi, I want to give birth to cats, bears, bunnies and a whole new world of Amigurumi friends!
Check this webpage, aren't these pictures absolutely adorables???


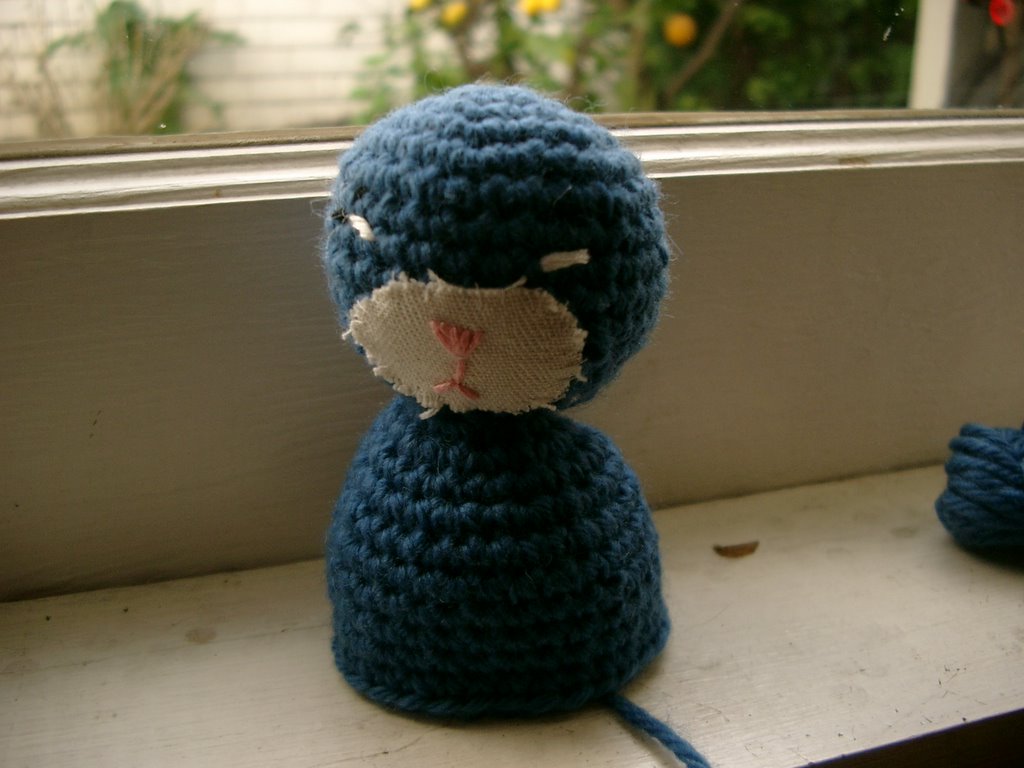
Here is my humble and messy attempt to make my first Amigurumi...

Monday, January 23, 2006

Filet Crochet


I have decided to face a new challenge: Filet Crochet. Basically I wanted to make a little curtain for the kitchen window. So I went to Lacis, in Berkeley, and spent there like 2 hours asking thousands of questions, to a very very nice and patient young lady. After all the talking I felt discouraged by the tiny tiny sizes of filet hooks (so small I almost couldn't see the hook!) and the yarns. So I bought a very nice curtain and thought about it a little bit.

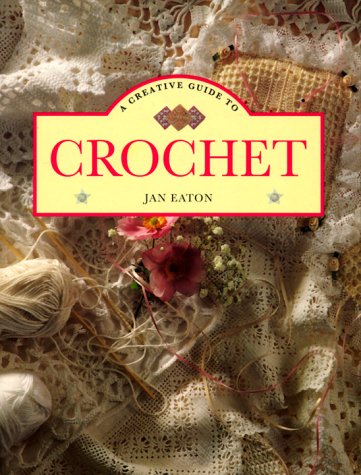
I didn't want to give up, though, so the day after I went to Barnes & Noble and found this book: A Creative Guide to Crochet, full of nice and easy projects for filet crochet. So I said to myself: you can do it! And I came back to Lacis, bought some yarn and a US 7/1,5mm hook and started a filet traycloth with snowflakes motif... So far I already made a big mistake, but I will go on until it's done!!!

Sunday, January 22, 2006

Skinny Mohair


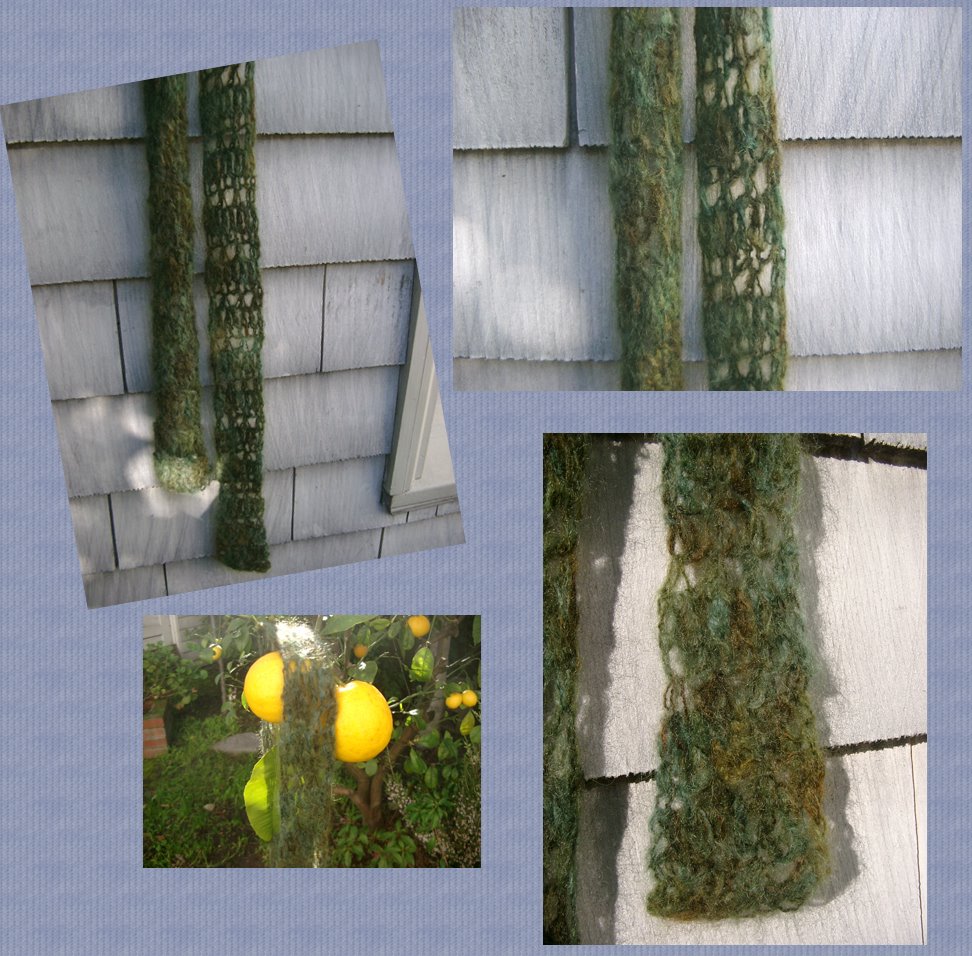
A few months ago I went to Artfibers, in San Francisco, my favorite spot every time I'm in town. I didn't have any specific idea at the moment so I bought a bunch of leftover yarns (a big bunch, apparently, because I ended up spending 50 dollars!!!). Anyway among those leftover there was this magnificent green mohair. I wasn't sure of the amount of yarn, so I decided to try a very thin mohair scarf.

Here is the pattern:
I used a hook US M / 9 mm


I started with ch 7 and on round 1, I worked 7 sc
Round 2, I worked 8 double chains.
Round 3, *1 sc, ch1*, and then I just repeated Rounds 2 and 3 until the end of the yarn, closing with 7 sc.
I must say that I really like this skinny scarf, so delicate and warm at the same time :-) Hooray!

Hat from outer space

I wanted to make a funny present for my nephew in New York. Having a look online I found some nice ideas and that's the result: a hat from outer space!

My first choice were the Monster Feet Slipper Socks, but I had no time for that. Then I found this The Flying Spaghetti Monster Hat and I decided to adapt it to my nephew small head, and make it simpler... So I look for a pattern for a baby hat, and found many online. I choose this one, the Bev's Bear Beanie. I just added the ear flips, to make it fit better, and teeth to make it more monstrous! It took me no time to make it and he loved it! :-)

Wednesday, January 18, 2006

Sweet Mary-Jane

I've been busy lately and I didn't work a lot, but before Christmas I did few more things, here they are:

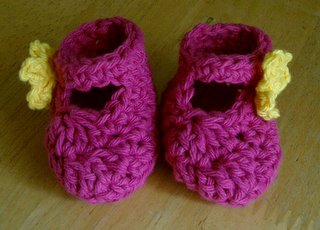
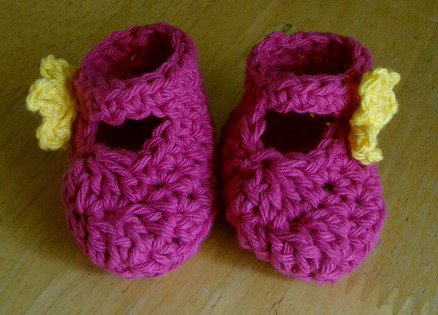
Thanks to the pattern of Abigail Goss, I did those absolutely adorable fake Mary Janes. Aren't the cutest little shoes? I just added a little flower on the side so to make them even more feminine ;-)

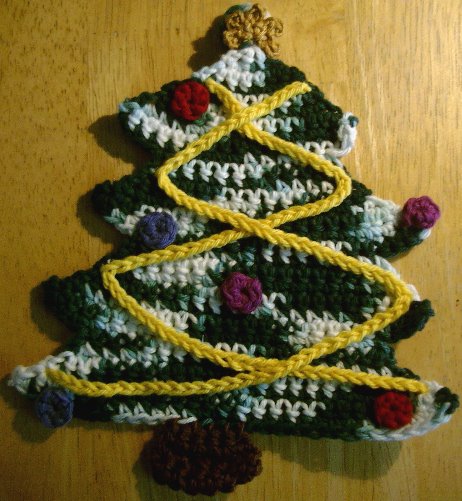
Is it really Christmas without a Christmas Tree Pot Holder?

Unfortunately all the Christmas present I did on November and sent to my family and friends came back :-( I will re-send them but for now here is my mother Alpaca Scarf I had mentioned before...

Friday, December 16, 2005

Tea Mug Cozy - Two Patterns

I wanted to make a little Christmas present for a girlfriend who really loves tea, so I came up with the idea of a mug cozy. I didn't really find online the perfect pattern so I made mines. Here they are:


Tea Mug Cozy Pink and purple

Used a small amount of Lion Brand Cotton in Fuchsia and Purple
Hook H8 / 5.00 mm
Gauge: Check if the length of the chain fits the bottom of your mug. Add or reduce the numer of chains if needed.

With Fuchsia - Ch 30. Join with sl st at 1st chain making sure not to twist the chain.

Row 1: Ch 1, sc in every 30 ch. Turn

Row 2: With Purple - Ch 2, dc in 28 sc. Turn (If you prefer, you can make two rounds in sc instead of 1 round of dc)

Row 3: With Fuchsia - Ch 1, sc in 28 dc + ch 6. Turn

Row 4: Sc in 2nd ch from hook and in the other 4 chs and in all 28 sc. Total 33 sc. Turn

Rows 5: Ch 1, Sc in every 33 sc. Turn

Rows 6-7: With Purple - Ch 1, sc in every sc. Turn. 33 sc

Rows 8-9: With Fuchsia - Ch 1, sc in every sc. Turn. 33 sc.

Row 10: With purple - Ch 1, sc in every 33 sc. Continue with sc along the border of the slip and at the base of the hole until you reach the beginning of row 10. Join with sl st to first sc of row 10. Fasten off.

To make your Tea Cozy stick to the mug, sew some velcro on both sides of the slip.
That's it, now you can enjoy your hot tea or coffee much longer! :-)


Blue Mug Cozy

Cascade 220, 100% wool color 8339, worked double
and a very small amount of blue wool, chunky weight
Hook K10 1/2 - 6.50 mm

Ch 25. Join in round with sl st to 1st ch, making sure not to twist the chain.
Row 1: Ch 2. 23 dc in 23 chs. Turn
Row 2: Ch 2, 23 dc + ch 6
Row 3: Dc in 3rd ch from hook, in the other 2 ch and in all 23 dc. Turn. 26 dc.
Row 4: Sc in all 26 dc. Fasten off
Row 5: With Blue yarn. Sl st to 1st ch of row 4. Sl st in every 25 sc. Fasten off.

Sew some velcro on both sides of the slip. And Enjoy your winter Mug Cozy!

Those patterns are Intellectual property of Justine Bellavita
May be distributed freely for personal use only.
Cannot be reprinted on the web or otherwise without permission.
Thank you! :-)

Monday, December 12, 2005

Hemp Basket

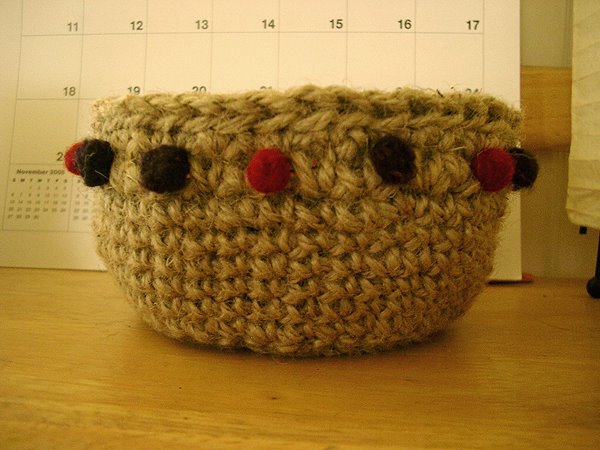
I've made this really lovely Hemp Basked, thanks to Donna Hulka.

I must admit that Donna's baskets are much nicer than mine... The only thing I've added are the felted wool beads. In fact I went to a beads shop but I couldn't find anything I liked for the basked (actually I ended up making a necklace for me...) so I made the beads felting small amounts of wool leftovers, felting them in the shape of beads with hand soap and very hot and very cold water.

Cat lovers tip: The little felted beads are also very appreciated by my cats. I made a slightly bigger one for them and they seem to have a very good time playing soccer with it!

Monday, December 05, 2005

Tweed hat, help!

I'm desperately trying to make a tweed-like hat for my sister. I've done and undone three hats and still I don't have what I want. The hat she likes is like this one:
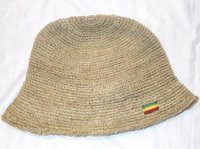

I've working with this pattern, but something is missing... can anyone help me?!

Tweed hat pattern:

Hook H8/5.00 mm
Worked together 2 strands of yarn Cascade 220
100% Peruvian highland wool
Weight 100 gr/3,5 oz – 220 yards

Gauge: 4 sc= 1’’ 3,5 rows= 1’’


TOP
Starting at center of crown, ch 4, form ring with sl st in 1st ch

Row 1: 8 sc in ring. Join to 1st sc with sl st.

Row 2: ch 1, 2 sc in same sc of sl st, 2 sc in every other sc. Join to 1st sc with sl st. (16 sc)

Row 3: ch 1, 2 sc in same sc of sl st, *1 sc in 1 sc, 2 sc in 1 sc*, rep **. 1 sc in last 2 sc. Join to 1st sc with sl st. (24 sc)

Row 4: ch 1, 2 sc in same sc of sl st, *1 sc in 2 sc, 2 sc in 1 sc*, rep **. 1 sc in last 2 sc. Join to 1st sc with sl st. (32 sc)
Row 5: ch 1, 2 sc in same sc of sl st, *1 sc in 3 sc, 2 sc in 1 sc*, rep **. 1 sc in last 3 sc. Join to 1st sc with sl st. (40 sc)

Row 6: ch 1, 2 sc in same sc of sl st, *1 sc in 4 sc, 2 sc in 1 sc*, rep **. 1 sc in last 4 sc. Join to 1st sc with sl st. (48 sc)

Row 7: ch 1, 2 sc in same sc of sl st, *1 sc in 5 sc, 2 sc in 1 sc*, rep **. 1 sc in last 5 sc. Join to 1st sc with sl st. (56 sc)
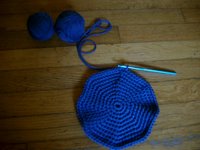

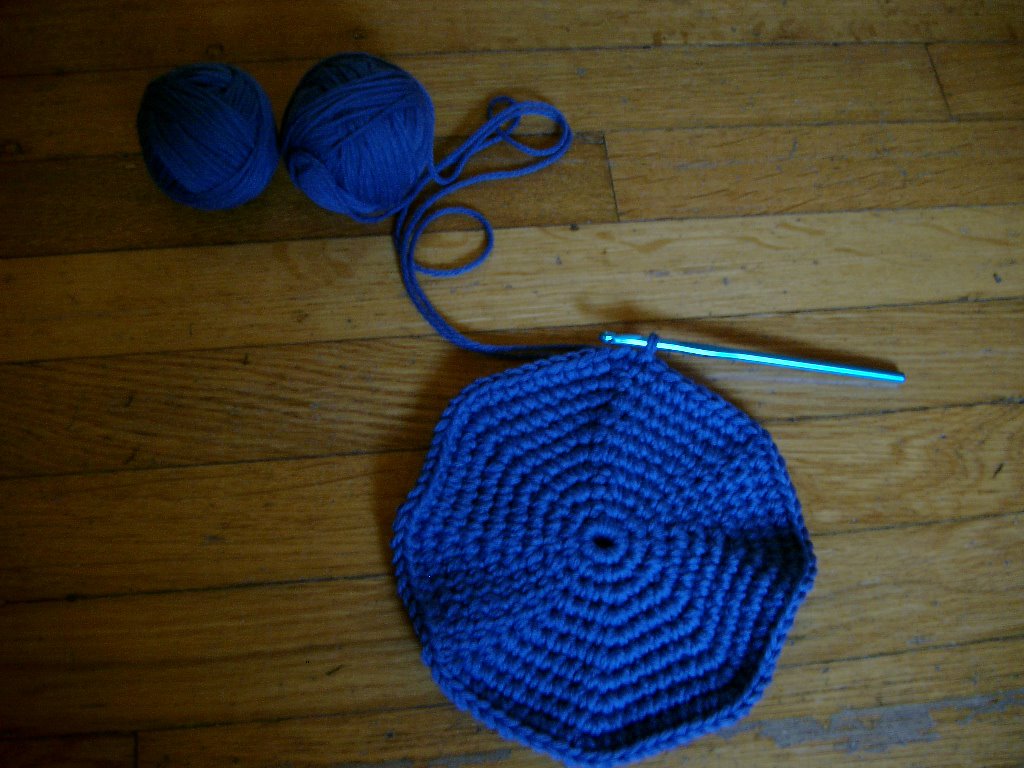
The top of the hat will now have the shape of an octagon.

Row 8: ch 1, 2 sc in same sc of sl st, *1 sc in 6 sc, 2 sc in 1 sc*, rep **. 1 sc in last 6 sc. Join to 1st sc with sl st. (64 sc)

Row 9: ch 1, 2 sc in same sc of sl st, *1 sc in 7 sc, 2 sc in 1 sc*, rep **. 1 sc in last 7 sc. Join to 1st sc with sl st. (72 sc)

Row 10: ch 1, 2 sc in same sc of sl st, *1 sc in 8 sc, 2 sc in 1 sc*, rep **. 1 sc in last 8 sc. Join to 1st sc with sl st. (80 sc)

Row 11: ch 1, 2 sc in same sc of sl st, *1 sc in 9 sc, 2 sc in 1 sc*, rep **. 1 sc in last 9 sc. Join to 1st sc with sl st. (88 sc)

Row 12: ch 1, 2 sc in same sc of sl st, *1 sc in 10 sc, 2 sc in 1 sc*, rep **. 1 sc in last 10 sc. Join to 1st sc with sl st. (96 sc)

SIDES
Row 13: work back loop only. Ch 1, 1 sc in same sc of sl st and in all other sc. Join to 1st sc with sl st. (96 sc)
Rows 14 – 29: work both loops. Ch 1, 1 sc in same sc of sl st and in all other sc. Join to 1st sc with sl st. (96 sc)

BRIM
Row 30: ch 1, 2 sc in same sc of sl st, *1 sc in 11 sc, 2 sc in 1 sc*, rep **. 1 sc in last 11 sc. Join to 1st sc with sl st. (104 sc)
Row 31: ch1, sc in each sc, sl st.
Row 32: ch 1, 2 sc in same sc of sl st, *1 sc in 12 sc, 2 sc in 1 sc*, rep **. 1 sc in last 12 sc. Join to 1st sc with sl st. (112 sc)
Row 33-34: ch1, sc in each sc, sl st. At end of row 34, fasten off.
Sunday, December 04, 2005

Scarves, scarves, scarves!

Winter is approaching and scarves are always welcome. I love making scarves, it's fast, easy and in the end you have an item that you'll use a lot!
Recently I've made 5, for me, my family and friends.

The first one was made with this Superfine baby alpaca beautiful orange yarn, named Mammoth, that I've found at Artfibers in San Francisco. I worked a Diagonal Rib pattern, found on About.com using knitting needles n.15/10.00 mm and casting on 8 stitches. The result is a very long, extra-soft and extra-warm scarf, which became immediately one of my favorites.

I wasn't totally satisfied of the pattern, though, so I've used the second skein of Mammoth, in dark red, to make my mother a slightly different Christmas scarf. I've casted on 8 stitches and modified the pattern this way:

Row 1: *k2 p2*
Row 2: p1, *k2 p2*, p1
Row 3: *p2 k2*
Row 4: k1, *p2 k2*, k1
Rep rows 1-4

Obtaining more horizontal diagonal stripes. I've finished the scarf crocheting the edges with a beautiful purple extrafine merino wool. The result is simply elegant and fashion. I should have taken a picture but I had to send the scarf very fast as my mom could get it for Christmas.

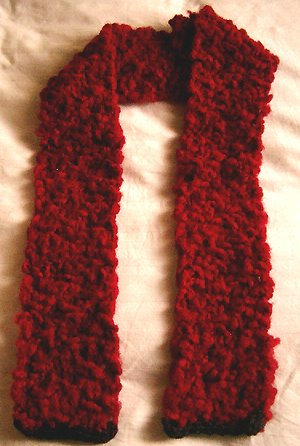
For one of my most beloved best friends I have crocheted a very simple yet showy Mohair scarf. I've found the pattern on the book "Cozy Crochet". Unfortunately the picture couldn't capture the beauty of the pattern and all the colors of this great Di.Ve Mohair with nuances that go from dark red to purple.

After that I've also finished my boyfriend scarf made in beautiful baby alpaca. I've worked a very simple vertical rib "k3, p3", and I'm very happy with the results.

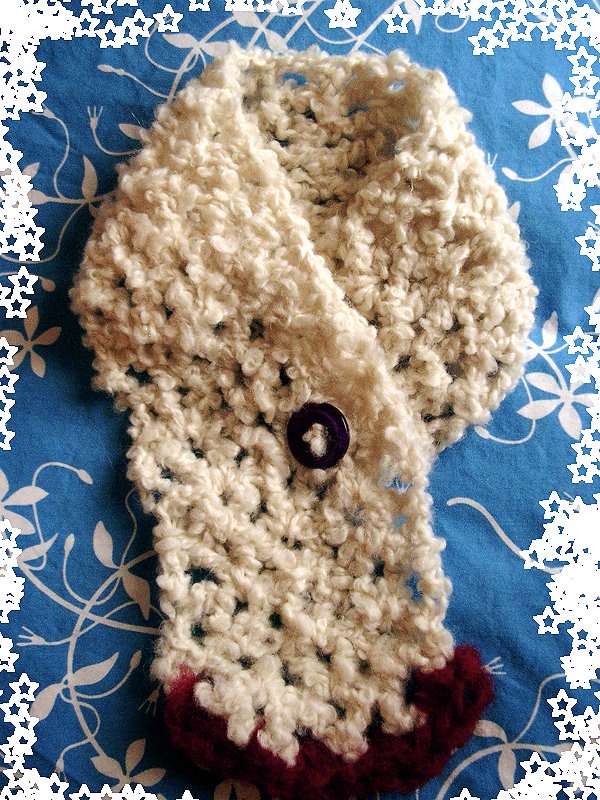
To finish, I've made this holiday cachecol white and red. I've used the Fuzzy Galore's V-ery easy scarf pattern. Adding a single-crochet red edge and closing the short scarf with a red button. Isn't it fancy? :-)

Saturday, December 03, 2005

A Mohair Flower for Mom - pattern


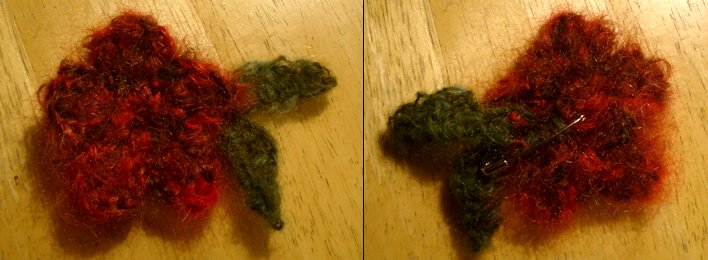
This is a very simple mohair flower pin I've made for my mom. I've used a Di.Vi Mohair blend and crochet hook US H8/ 5.00 mm. This the pattern I have followed:


FLOWER:
Chain 4. Sl st to 1st ch.
Row 1: *chain 3, sc in ring*, rep ** 4 more times, join w sl st to 1st sl st
Row 2: In every ch-3 space work *sc, ch2, dc, tr, dc. ch2, sc* 5 times. Fasten off

LEAVES
With green yarn, sl st on the back of the flower, then:
ch 7, sc in 2nd ch from hook, then hdc in ch, 2 dc in 2 ch, 1 hdc , 1 sc, sl st in back of flower. Make 2


and that's it! :-)
Of course I had been helped by my kitties otherwise I couldn't have done it... ;-)